
Installing Stone Veneer Near the Ground: Clearance Requirements for Installation
Share
Originally posted September 22, 2025, updated October 12, 2026.
Manufactured stone veneer should not touch soil or landscaping. Maintain at least 4 inches of clearance above soil, grass, or mulch and 2 inches above paved surfaces, such as concrete patios and walkways, to help prevent moisture damage and support long-term performance.
Manufactured stone veneer adds natural-looking texture, depth, and curb appeal to exterior walls, foundations, entryways, and outdoor living spaces. However, when planning a stone veneer installation near the ground, proper clearance is essential. Installing stone too close to soil, mulch, or hardscape surfaces can expose the veneer and the wall behind it to excessive moisture, potentially leading to deterioration and costly repairs.
Whether you are updating your home's foundation, finishing an exterior column, or designing an outdoor kitchen, understanding stone veneer ground clearance requirements helps protect your investment. The appropriate distance depends on the surface below the veneer, the wall construction, applicable building codes, and manufacturer installation instructions. Planning for these requirements before installation helps ensure the finished project looks attractive while allowing the wall assembly to manage moisture properly.
Can Stone Veneer Touch the Ground?
Manufactured stone veneer should not be installed directly against soil, grass, mulch, or other landscaping materials. A clearance must be maintained between the bottom of the veneer and the finished ground surface to help limit moisture exposure and support proper drainage.
As a general installation guideline, maintain at least 4 inches between the bottom of the veneer and soil or landscaping. When installing above concrete patios, driveways, walkways, or similar paved surfaces, maintain at least 2 inches of clearance. These are common industry guidelines, but specific building codes, installation standards, and manufacturer instructions may establish different requirements. Always verify the requirements that apply to your project before installation.
This separation is important even when the stone appears durable enough to withstand outdoor conditions. Manufactured stone veneer is a cement-based product designed for appropriate exterior applications, but it is not a waterproof barrier. Water can enter through mortar joints and other parts of the wall assembly, making proper drainage and moisture management essential.
The clearance must also remain in place after the project is finished. Adding soil, mulch, or other landscaping materials later can eliminate the original gap and expose the bottom of the veneer to the moisture conditions the clearance was intended to prevent.
Why Clearance Matters for Manufactured Stone Veneer
Moisture is one of the primary concerns when installing stone veneer near ground level. Soil and mulch can retain water against the wall, while rain, irrigation, and snowmelt can repeatedly wet the bottom course of stone. Without adequate separation, moisture may be absorbed into the stone and mortar or enter the wall system behind the veneer.
Prolonged moisture exposure can contribute to mortar deterioration, loose stones, surface discoloration, and damage to moisture-sensitive materials within the wall assembly. In colder climates, repeated freezing and thawing can make these problems worse. Water trapped in or around the installation may freeze, expand, and contribute to cracking or deterioration over time.
Insufficient clearance can also increase the likelihood of efflorescence, a white, powdery deposit that sometimes appears on cement-based stone and mortar. Efflorescence occurs when water dissolves soluble salts within the materials and carries them to the surface, where they remain after the moisture evaporates. Although it does not necessarily indicate structural damage, it can affect the appearance of the finished stonework.
Maintaining proper clearance helps reduce direct contact with damp materials and allows the wall assembly to manage moisture as intended. However, clearance alone cannot prevent every moisture-related issue. Appropriate flashing, drainage, substrate preparation, and installation methods are also necessary to protect the complete wall system.
How Much Clearance Does Stone Veneer Need Above the Ground?
The required clearance depends on the surface directly below the stone veneer. Soil and landscaping materials generally require more separation than paved surfaces because they can retain moisture for extended periods.
For installations above soil, grass, mulch, and similar landscaping, a minimum clearance of 4 inches is a common guideline. Measure from the finished grade rather than the original ground level before landscaping. If a planting bed will be raised or additional mulch will be installed after the stonework is complete, account for that added height when planning the installation.
For installations above concrete patios, driveways, walkways, and similar paved surfaces, a minimum clearance of 2 inches is a common guideline. Although concrete may appear dry and stable, rainwater and snowmelt can collect near the wall or splash against the lower stone. The paved surface should drain away from the wall wherever site conditions and the design allow.
These measurements should be treated as general guidance rather than universal code requirements. Applicable building codes and installation standards may specify different clearances depending on the construction and exposure conditions. Before beginning work, confirm the appropriate measurements for the selected stone veneer and wall assembly.
Best Practices for Installing Stone Veneer Near Grade
Proper installation begins with planning the bottom edge of the stone veneer before the first course is laid. Establish the finished ground level, identify adjacent patios or walkways, and determine where the veneer can terminate while maintaining the required clearance. A suitable foundation ledge, masonry base, or other properly designed support may help establish the starting point, but the veneer must still be installed using an appropriate wall assembly.
Water management is equally important. Exterior stone veneer installations must account for water that reaches the wall or penetrates behind the veneer. Depending on the substrate and construction method, this may require a water-resistive barrier, flashing, and an appropriate drainage provision. For framed-wall installations, a weep screed or another approved drainage termination may be required to help moisture escape from behind the veneer.
The correct details depend on the wall construction. Framed walls, concrete walls, and masonry substrates do not necessarily use identical installation methods, so follow the instructions and standards that apply to the specific application. A drainage component cannot compensate for an improperly prepared substrate or incorrectly installed flashing.
Landscaping should also be planned around the finished stonework. Avoid piling soil, mulch, leaves, or other materials against the bottom course, and keep irrigation from repeatedly spraying the veneer. Where possible, grade the surrounding ground to direct water away from the foundation rather than allowing it to collect beside the wall.
Proper mortar installation and joint detailing are essential for a durable stone veneer installation. Use the mortar type specified by the manufacturer and follow the applicable installation guidelines. Construction adhesives or glue should not be substituted for the required mortar installation method. Although properly finished mortar joints contribute to the appearance and durability of the installation, mortar alone does not make the wall waterproof or eliminate the need for proper drainage and moisture management.
Where Can Stone Veneer Be Installed Near the Ground?
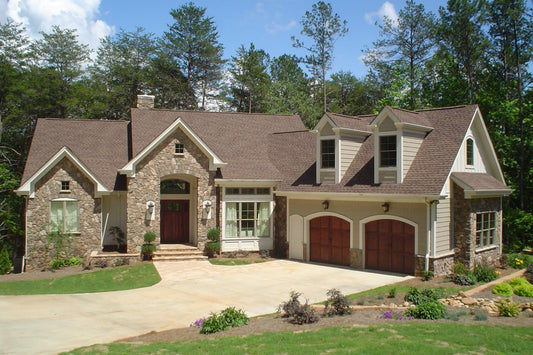
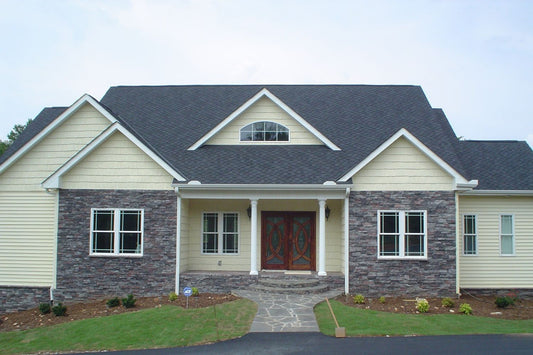
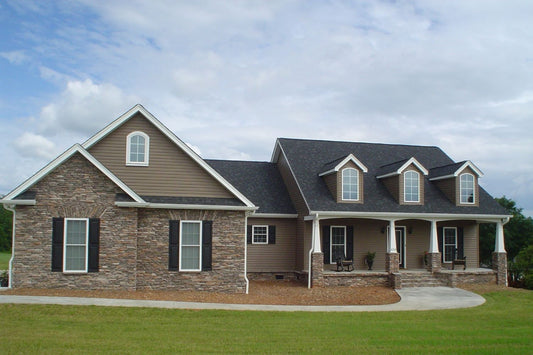
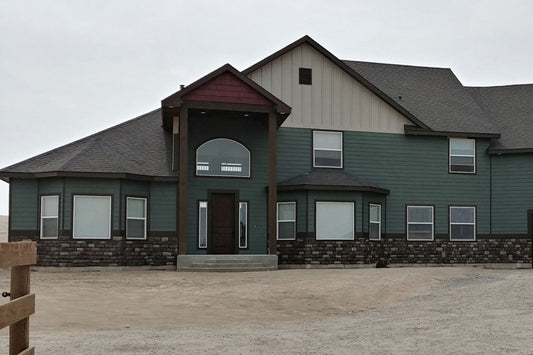
Manufactured stone veneer is commonly used to finish exposed foundation walls, giving a home a more substantial appearance while complementing siding, brick, and other exterior materials. When installing stone around a foundation, the bottom edge must remain above the required finished grade. The transition between the stone, foundation, and adjoining wall materials must also be detailed to manage water properly.
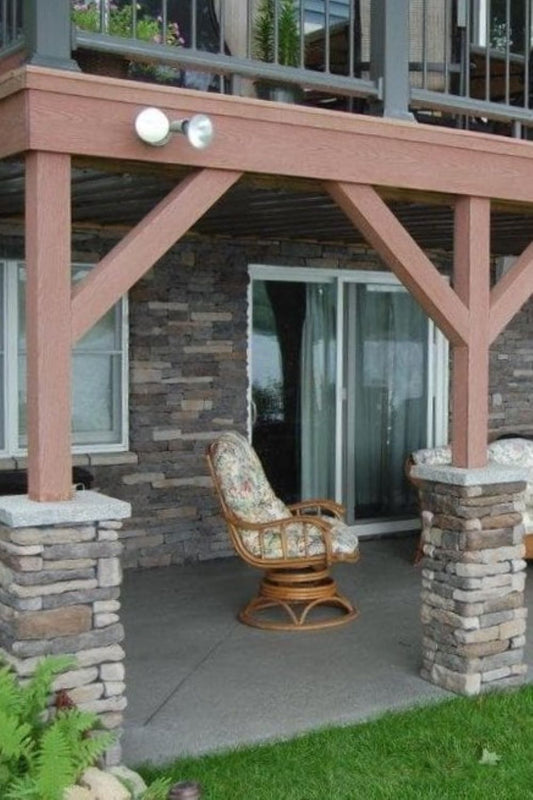
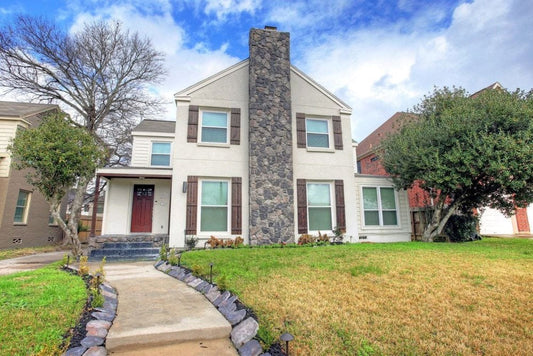
Exterior columns, porch supports, and entryways are other popular applications. These features often extend toward the ground or meet a concrete porch, making it important to establish the correct starting height before installation. Planning the clearance in advance helps create a polished transition without compromising the installation requirements.
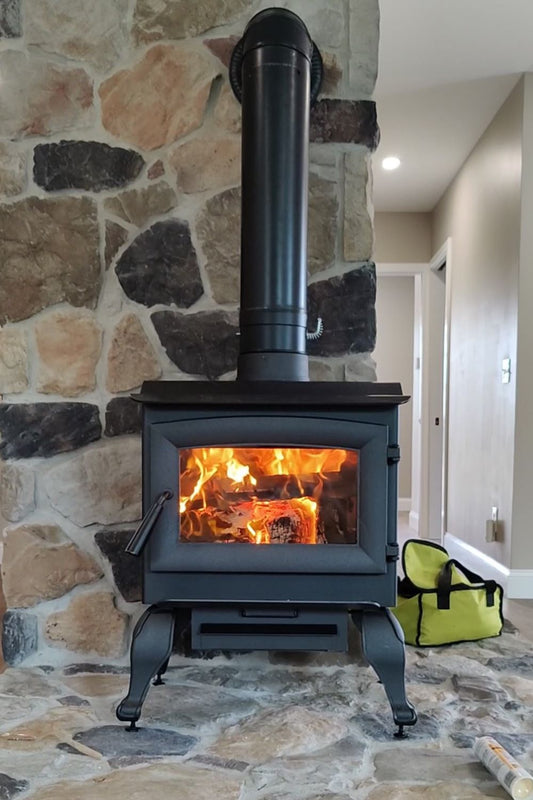
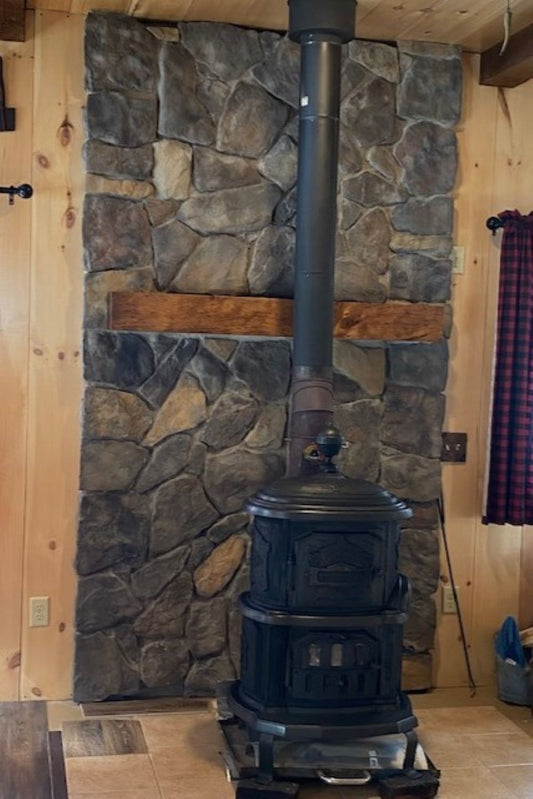
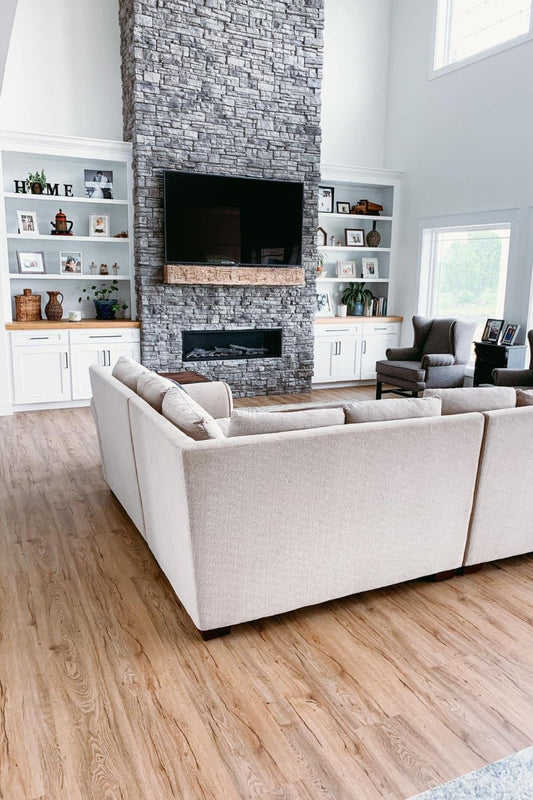
Stone veneer can also enhance outdoor kitchens, suitable fireplace structures, and other outdoor living features. When these installations sit on concrete slabs or paved surfaces, the clearance requirements for hardscape surfaces should be considered. However, manufactured stone veneer is a finish material and should not be installed inside a firebox or in direct contact with flames unless a specific product is expressly designed and approved for that application.
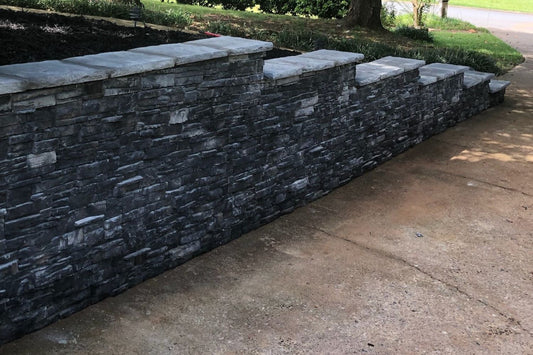
Decorative garden features and masonry structures can also benefit from the appearance of manufactured stone veneer. However, stone veneer should not be confused with structural masonry or a retaining-wall system. It is a finish material, not a structural retaining wall. Any installation near soil must have a suitable supporting structure and appropriate drainage and termination details.
Regardless of the application, the same principle applies: the veneer should be installed at the appropriate height for the surrounding surface, with the wall assembly protected against moisture.
Common Mistakes to Avoid When Installing Stone Veneer Near Grade
One of the most common mistakes is installing the first course too low and assuming the cement-based stone will withstand constant contact with damp soil. Even durable exterior materials depend on proper installation details to perform as intended. Maintaining the required clearance helps limit unnecessary moisture exposure and reduces the risk of problems developing at the base of the wall.
Another mistake is measuring the clearance before landscaping is complete. Adding soil or mulch later can eliminate the original gap and leave the veneer in direct contact with damp materials. The finished grade should be considered during the planning stage, and the clearance should remain unobstructed after the project is completed.
Poor drainage can also cause problems even when the veneer is installed at the correct height. Water that pools near the foundation, irrigation that repeatedly wets the wall, or improperly installed flashing can allow moisture to accumulate in or behind the stonework. Proper clearance must work together with effective drainage and appropriate wall construction.
Finally, do not assume that one measurement applies to every project. Building codes, substrate conditions, and manufacturer instructions can affect the required installation details. Confirm the applicable requirements before work begins, and consult a qualified installer or building professional when site conditions or code requirements are unclear.
Installing Stone Veneer Near the Ground
Manufactured stone veneer can create a beautiful finish around foundations, entryways, columns, and outdoor living spaces, but it should not be installed directly against soil or landscaping. Maintaining appropriate clearance helps reduce moisture exposure, limits the risk of efflorescence and freeze-thaw damage, and protects the wall assembly behind the stone.
As a general guideline, allow at least 4 inches above soil and landscaping and 2 inches above paved surfaces, while confirming the specific requirements for your project. Combine proper clearance with effective drainage, flashing, and installation methods to help your stone veneer maintain its appearance and performance for years to come.
Frequently Asked Questions About Installing Stone Veneer Near the Ground
Can manufactured stone veneer be installed directly on dirt or soil?
No. Manufactured stone veneer should not be installed directly against soil. Maintain at least 4 inches of clearance as a general guideline, and verify the applicable building code and manufacturer installation requirements. This separation helps reduce moisture exposure and protects the veneer and underlying wall assembly.
How close can stone veneer be to a concrete patio or driveway?
A common guideline is to maintain at least 2 inches between the bottom of the veneer and a concrete patio, driveway, walkway, or similar paved surface. Confirm the required clearance for the specific installation, and make sure the surrounding surface drains away from the wall.
What happens if stone veneer touches the ground?
Stone veneer that touches soil, grass, or mulch may experience prolonged moisture exposure. Depending on the installation and environmental conditions, this can contribute to efflorescence, mortar deterioration, loose stones, freeze-thaw damage, or moisture problems behind the veneer.
Does stone veneer need a weep screed near the ground?
A weep screed or another approved drainage termination may be required for framed-wall installations. These components help manage moisture behind the veneer and provide a path for drainage. The appropriate detail depends on the wall assembly and applicable installation requirements.
Can I put mulch or gravel against stone veneer?
Mulch and soil should not be piled against stone veneer because they can retain moisture and cover the required clearance. Decorative gravel does not eliminate the need for proper separation and drainage. Maintain the specified clearance above the finished grade and prevent water from collecting near the wall.
Can stone veneer be installed below grade if it is sealed?
Sealing the stone does not automatically make it suitable for below-grade installation. Manufactured stone veneer is generally intended for above-grade applications, and a sealer does not replace the required drainage, waterproofing, or clearance details. Follow the product's installation instructions and consult a qualified professional before considering any below-grade application.
What's Next?
Elevate your space with premium stone veneer. Shop now to begin your project and create a timeless look with lasting beauty and durability or order a sample to experience the authentic texture and rich colors in person.
Have a Question?
Please see our full terms of service or check out our frequently asked questions.
For general information and questions please call: (864) 882-8960 Mon. - Fri. 8am - 5pm (EST) or email: info@blackbearmountainstone.com we are more than happy to help you.
Or you can submit your questions via our contact us page.
We look forward to working with you on your upcoming project.
The Black Bear Mountain Stone Team
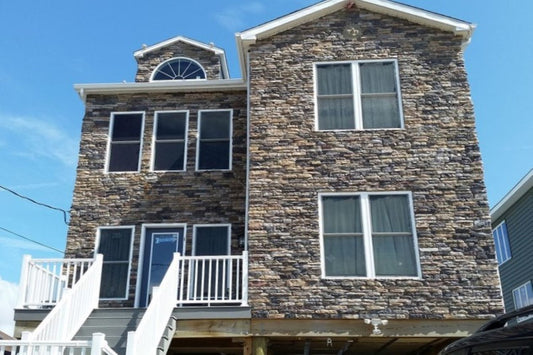
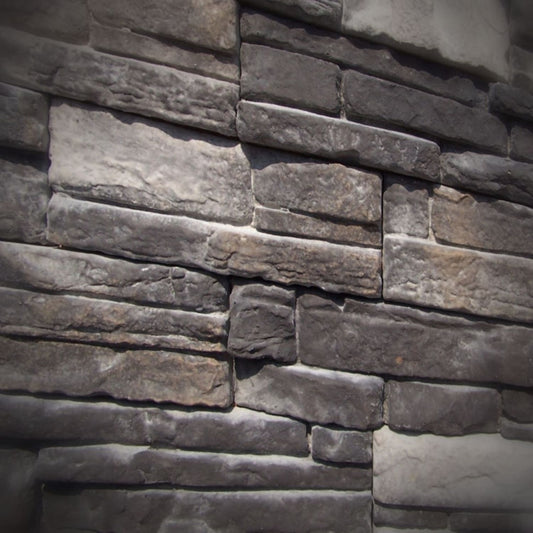
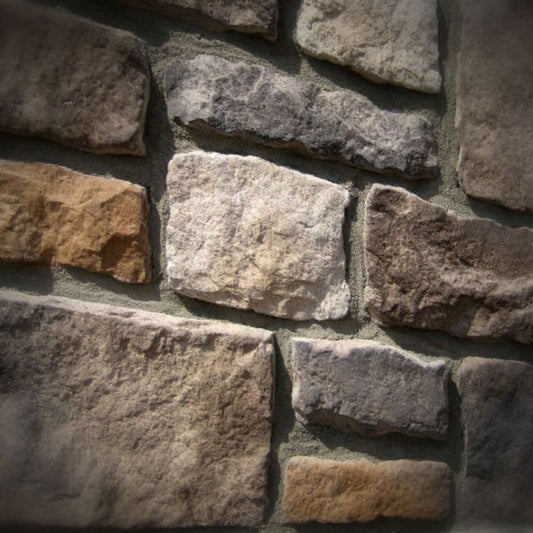
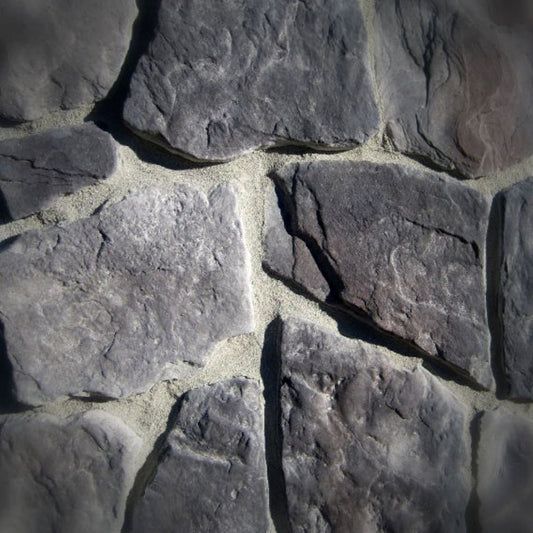
Pictured is hackett stone kona.