Tips and Best Practices for Stone Veneer Installations
Share
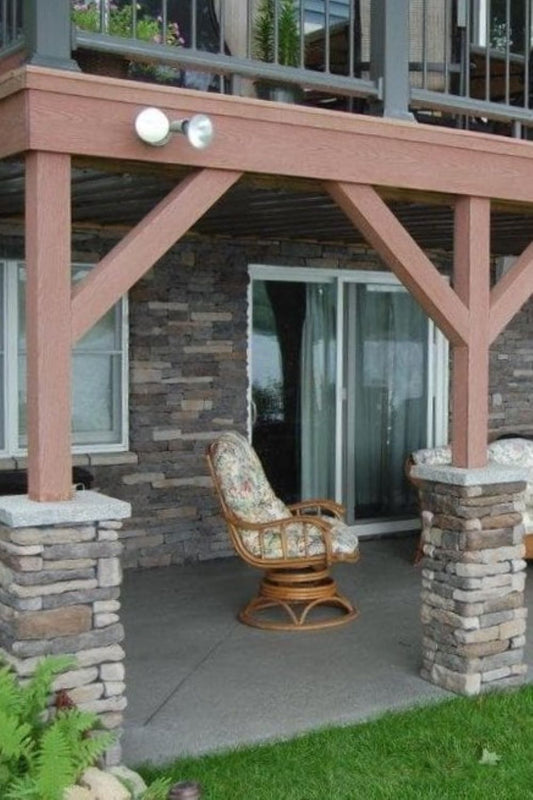
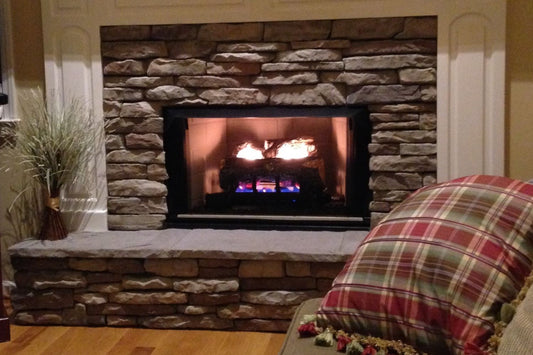
When it comes to manufactured stone veneer, the final appearance and longevity of your project depend heavily on installation quality. Even premium stone products can fail prematurely if not installed correctly. In this guide, we’ll break down the most important aspects of a successful installation and provide actionable tips to ensure your veneer looks stunning and lasts for years.
Why installation quality matters
Poor installation is the most common cause of problems with manufactured stone veneer, including stones loosening or falling off, hairline cracks or damaged corners, moisture infiltration that can lead to mold growth, and an uneven or misaligned appearance. Even small errors in surface preparation, mortar application, or back-buttering can lead to costly, long-term issues. Ensuring high-quality installation from the start is essential for a durable, attractive stone veneer that lasts for years.
Is stone venner installation DIY friendly?
A common consideration for homeowners is whether to tackle a DIY manufactured stone veneer installation or hire a professional installer. DIY installation offers benefits such as a lower upfront cost, complete control over the design and layout, and the satisfaction of completing the project yourself. However, it comes with challenges, including a steep learning curve, the risk of mistakes that can lead to fallen stones, cracks, or moisture damage, and the need for specialized tools and knowledge of mortar application, back-buttering, and water management.
Should I hire a professional to install my stone veneer?
Professional installation provides expertise in proper adhesion, alignment, and moisture control, faster project completion, and long-term durability with reduced maintenance. The trade-offs include a higher upfront cost and less hands-on involvement. For larger exterior projects, complex corners, or high-traffic areas, hiring a professional is strongly recommended. Even experienced DIYers often seek professional guidance or inspections to prevent costly errors and ensure a flawless stone veneer installation.
Common installation tips and best practices
1. Proper surface preparation: all surfaces must be clean, dry, and structurally sound. Metal lath and scratch coat are often required for non-masonry surfaces to ensure strong adhesion.
2. Choosing the right mortar: always use Type S mortar regardless of your substrate. Pay attention to color matching if visible mortar joints are part of the design. Pre-tinted mortars ensure consistency.
3. Back buttering stones: always apply a thin layer of mortar to the back of each stone before pressing it into place. This technique improves adhesion and reduces the risk of stones falling off.
4. Staggering joints: avoid aligning vertical seams in adjacent rows. Break up horizontal runs to create a natural appearance and reduce stress points that can cause cracking.
5. Corners and edges: wrap metal lath around corners and ensure proper bonding. Corners are vulnerable to hairline cracks, so extra care is needed.
6. Water management: install weep screeds and flashing to prevent moisture from collecting behind the veneer. Moisture control prevents efflorescence and reduces the risk of stone detachment.
7. Allow for expansion: leave small gaps or expansion joints in large surfaces to accommodate movement, especially in exterior installations.
8. Avoid installing wet stone: moisture in the stone can affect adhesion. Always allow stones to dry fully before installing.
Frequently asked questions
1. Can I install manufactured stone veneer on drywall? Yes, but you have to install a moisture barrier, a metal lath and a scratch coat. Always avoid direct installation on drywall, which is prone to moisture and structural issues.
2. Do I need to seal manufactured stone veneer? Sealing is optional but recommended for highly porous stones or exterior applications. Sealing prevents stains and water damage.
3. What mortar type should I use? Always use Type S mortar regardless of your substrate.
4. How do I prevent stones from popping off? Ensure proper back-buttering, scratch coat and metal lath application, and allow mortar to cure fully. Avoid installing stones when wet or in freezing temperatures.
5. How can I match replacement stones? Use manufacturer catalogs, online images, or sample kits to identify and match veneer types.
Tips and best practices for stone veneer installations
Investing in high-quality manufactured stone veneer is only part of the equation. Installation quality makes the difference between a beautiful, long-lasting surface and a project plagued with cracks, loose stones, or moisture issues. Whether you choose DIY or professional installation, following best practices ensures your veneer will not only look amazing but also stand the test of time. Remember, when in doubt, consulting a professional stone installer can save both time and money in the long run.
You may also like
Do you offer stone veneer installation services? DIY vs. professional options.
Does manufactured stone veneer need sealing? Expert advice.
Installing stone veneer near the ground: Tips for long-lasting results.
What's next?
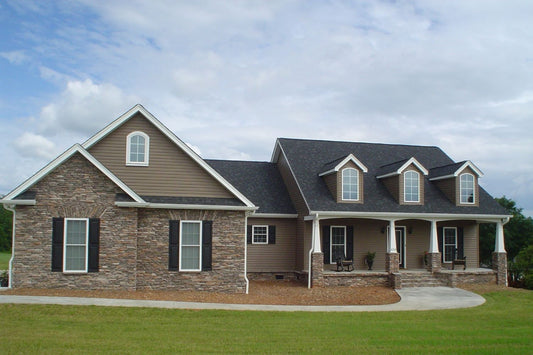
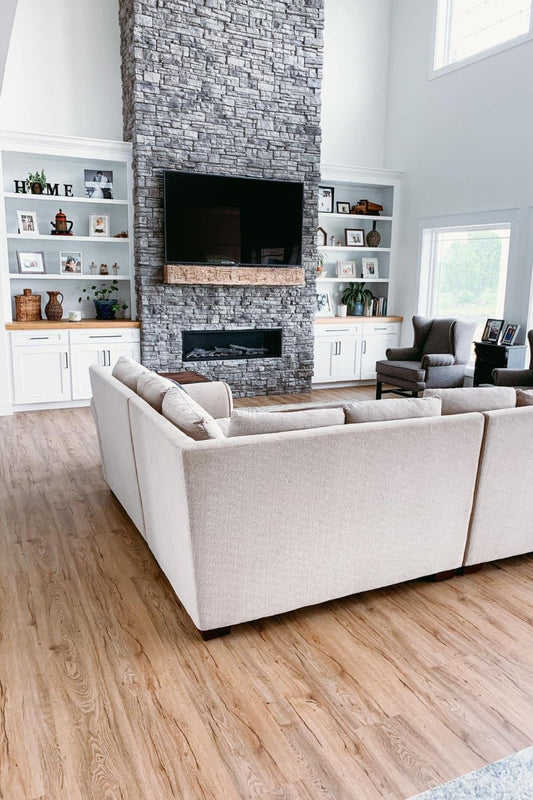
Transform your home with premium manufactured stone veneer, showcasing realistic texture and vibrant, natural colors. Order a sample to experience it up close or shop now to start your durable, timeless project today.
Have a question?
Please see our full terms of service.
For general information and questions please call: (864) 882-8960 Mon. - Fri. 8am - 5pm (EST) or email: info@mountainviewstone.net we are more than happy to help you.
Or you can submit your questions via our contact us page.
We look forward to working with you on your upcoming project.
The Black Bear Mountain Stone Team
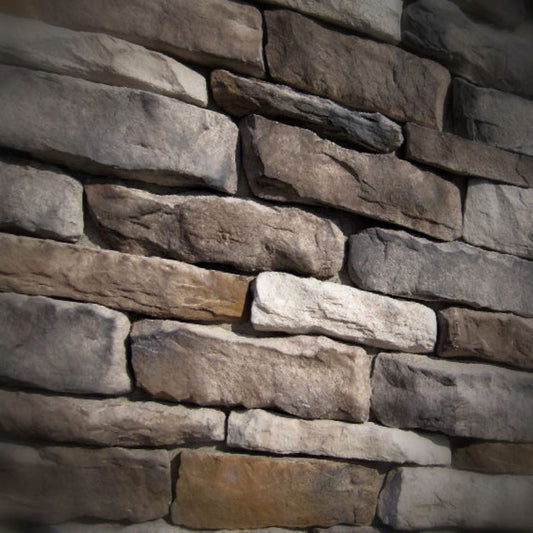
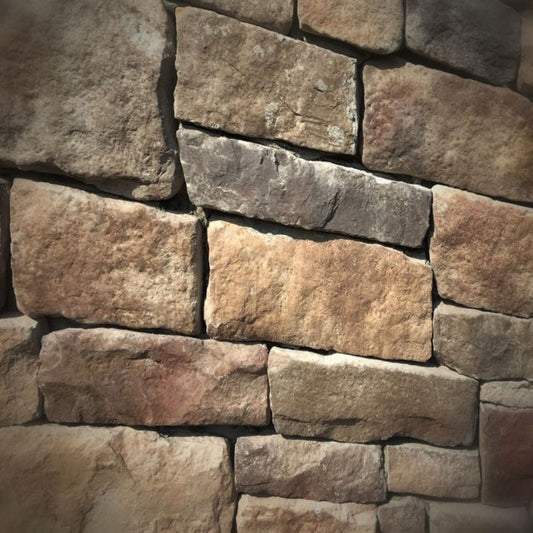
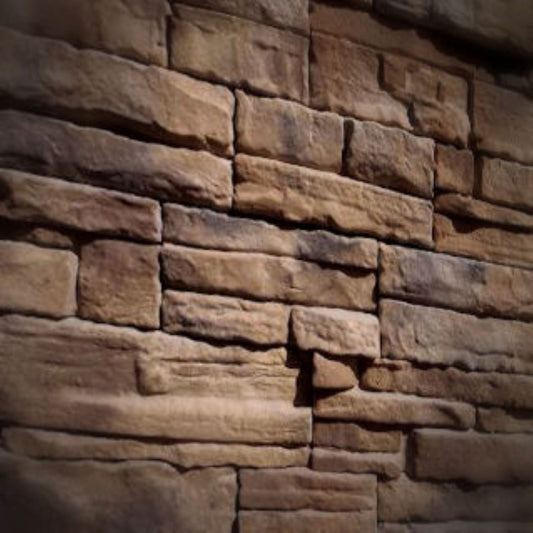
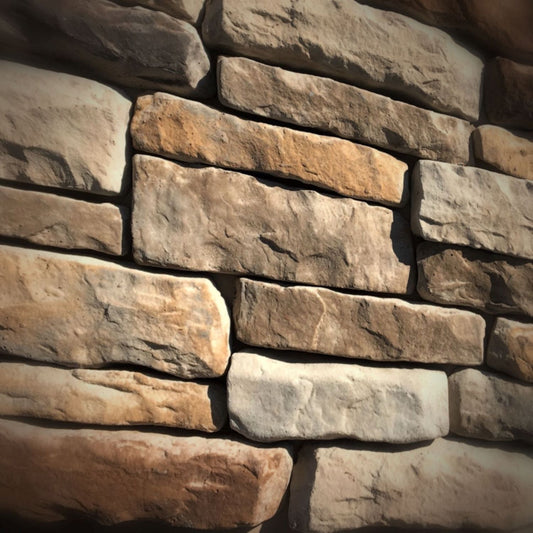
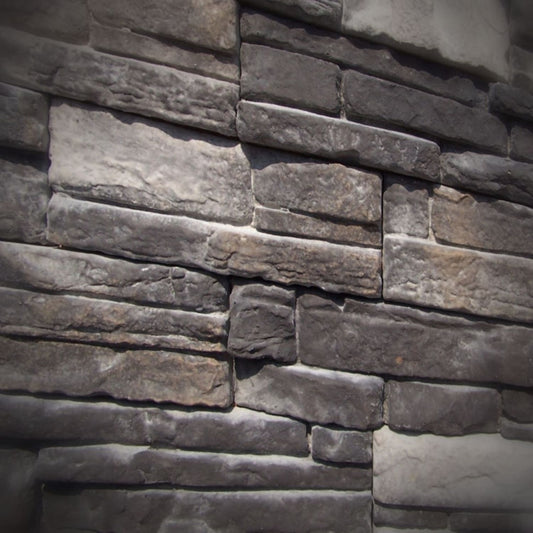
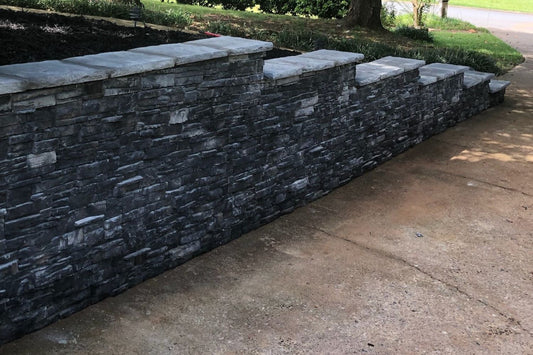
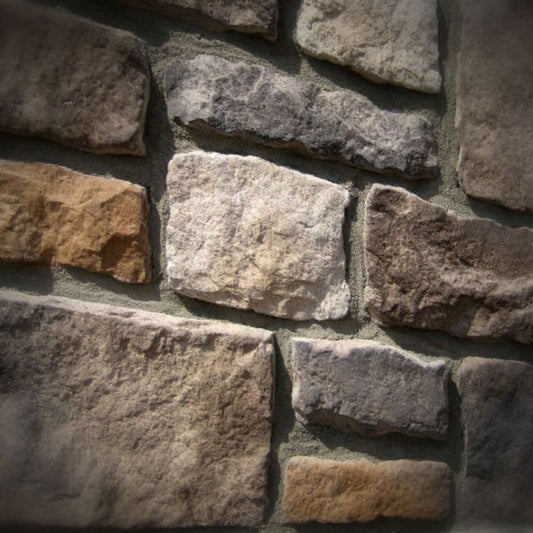
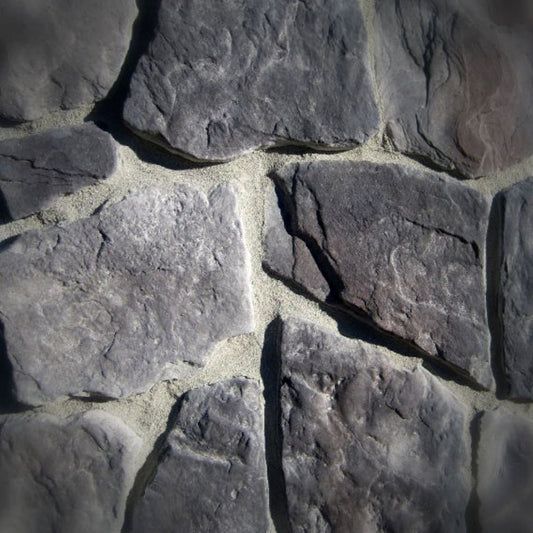
Pictured is stack stone aspen.