Common DIY Stone Veneer Installation Mistakes
Share
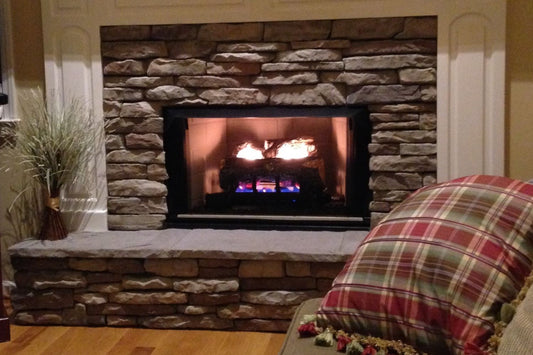
Manufactured stone veneer is a beautiful and cost-effective way to enhance your home’s interior or exterior. Its realistic look and lightweight design make it a popular choice for DIY projects. However, improper installation can lead to costly mistakes, structural issues, and a less-than-perfect finished look. In this post, we’ll cover the most common DIY stone veneer mistakes and how to avoid them for a long-lasting, professional result.
Not reading the manufacturer’s installation guide
Skipping the manufacturer’s installation guide is a common DIY mistake that can lead to improper installation, voided warranties, or long-term damage. Each stone veneer product may have specific requirements for surface prep, mortar type, spacing, and sealing, and ignoring these instructions can compromise your project.
Tip: always read and follow the manufacturer’s installation instructions before starting your project to ensure a professional, long-lasting result.
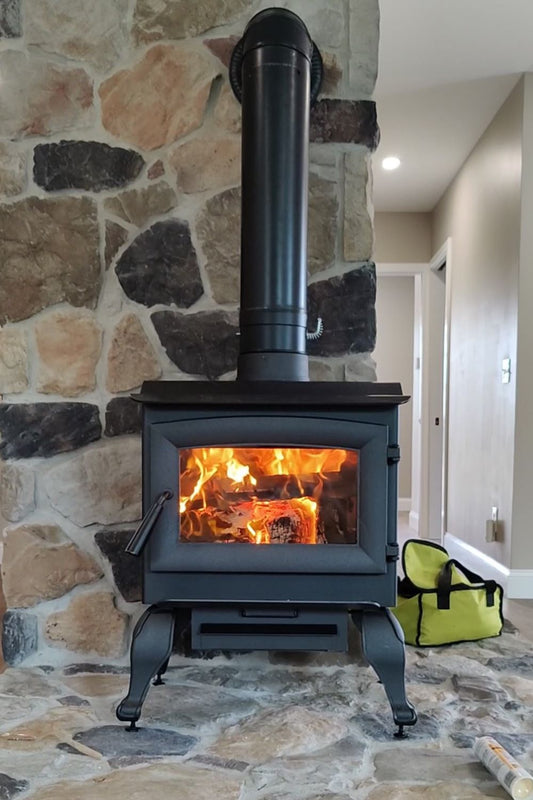
Skipping surface preparation
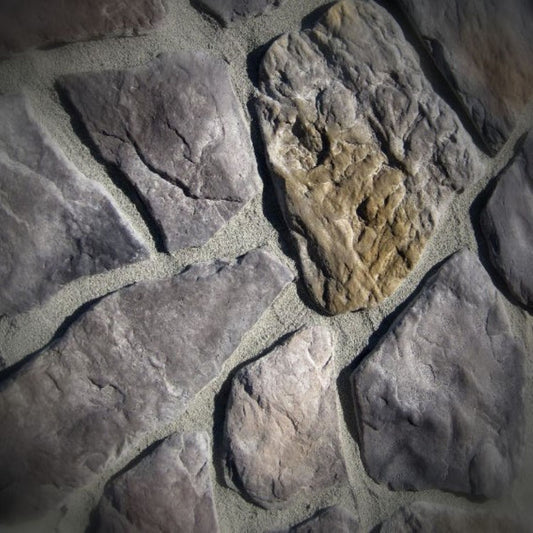
One of the biggest mistakes DIYers make is not properly preparing the wall. Stone veneer requires a clean, structurally sound, and moisture-protected surface for proper adhesion. Installing directly over drywall, unsealed wood, or a damp surface can lead to peeling, cracking, or uneven stone placement. Always carefully read and follow the stone manufacturer’s installation instructions, especially for proper surface preparation.
Tip: always clean the wall, remove debris, and apply a moisture barrier or scratch coat when necessary.
Using the wrong mortar or adhesive
Not all mortars are created equal. Using standard cement mortar or improper adhesive can compromise the bond between your stone veneer and wall, especially in exterior applications exposed to weather.
Tip: always use a high-quality Type S mortar recommended by the manufacturer to ensure a strong, lasting hold.
Ignoring a proper layout
Jumping straight into installation without planning the layout can result in uneven patterns, mismatched joints, or awkward cuts. DIYers often underestimate how much stone is needed or how pieces will fit together.
Tip: dry-lay stones before installation to visualize the pattern, spacing, and color balance. Also, order 10–15% extra material to account for cuts and waste.
Incorrect cutting techniques
Cutting stone veneer with the wrong tools or techniques can cause breakage, uneven edges, or chipped pieces. Using a standard hand saw or nailing stones in place can ruin the overall appearance.
Tip: use a wet saw or angle grinder with a diamond blade designed for stone veneer and always wear safety gear.
Skipping sealing or maintenance
While stone veneer is durable, neglecting to seal it in areas prone to moisture or exposure can cause staining, efflorescence, or discoloration over time. Always read and follow the stone manufacturer’s maintenance guidelines to ensure long-lasting beauty and performance.
Tip: apply a high-quality sealer recommended for your stone type and be sure to test the sealer on a small, inconspicuous area first.
Overloading the wall
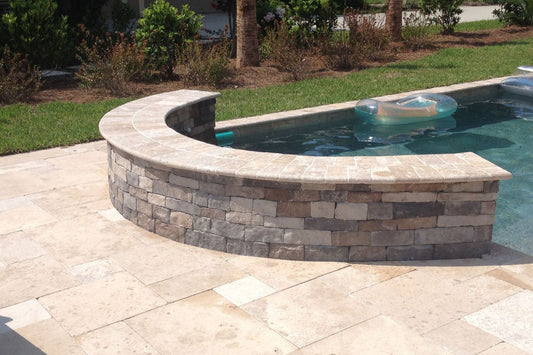
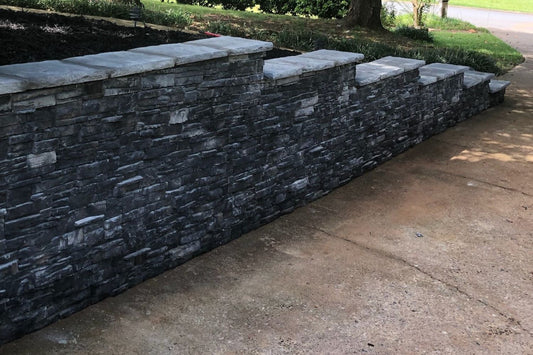
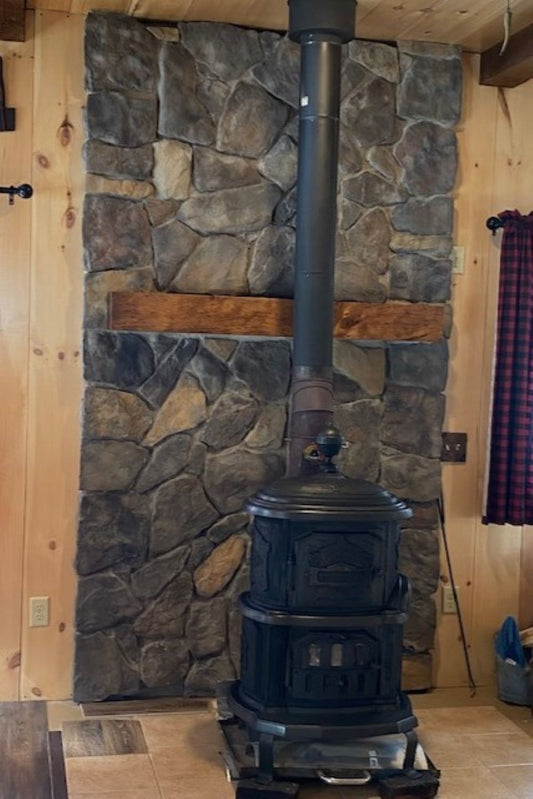
Some DIYers attempt to use stone veneer on walls that can’t handle the weight, especially with natural stone alternatives. Even though manufactured stone veneer is lighter, ignoring wall support can create safety issues.
Tip: check the wall structure and follow manufacturer weight recommendations before installation.
Frequently asked questions
1. Why is it important to read the manufacturer’s installation instructions? Reading the manufacturer’s installation guide ensures you follow proper surface preparation, mortar selection, and installation techniques. Skipping this step can lead to poor adhesion, damaged stone, or voided warranties, making it a crucial part of any DIY stone veneer project.
2. Can I install stone veneer myself? Yes, DIY installation is possible, especially with smaller interior projects or stone veneer panels. However, for large-scale or exterior projects, hiring a professional ensures a safe, long-lasting result.
3. How much stone veneer should I order? Always order 10–15% more than your calculated square footage to account for cuts, mistakes, and breakage.
4. Do I need to seal stone veneer? Sealing is recommended for areas exposed to moisture, spills, or heavy use. It helps protect the stone from staining and maintains its appearance over time.
5. What tools do I need for cutting stone veneer? Use a wet saw or angle grinder with a diamond blade. Avoid hand saws or nailing tools, as they can damage the stone.
Common DIY stone veneer installation mistakes
Avoiding common DIY stone veneer mistakes can save you time, money, and frustration. Proper preparation, using the right materials, careful planning, and maintenance are key to achieving a beautiful, long-lasting stone veneer installation.
You may also like
Can you install stone veneer with construction adhesive? Expert advice.
Do you offer stone veneer installations? Here’s what you need to know.
Does manufactured stone need sealing? Protecting your investment.
What's next?
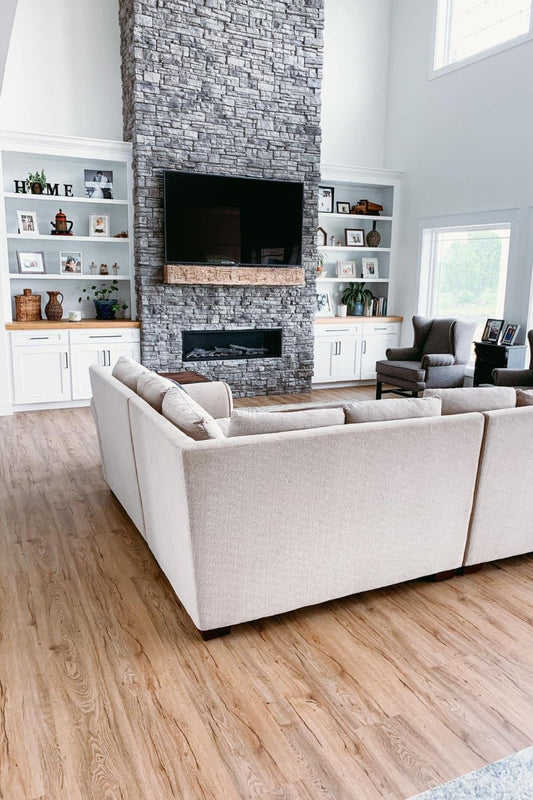
Enhance your space with premium stone veneer. Order a sample to feel the authentic texture and see the rich color variations up close or shop now to start your project and create a timeless, long-lasting design.
Have a question?
Please see our full terms of service.
For general information and questions please call: (864) 882-8960 Mon. - Fri. 8am - 5pm (EST) or email: info@mountainviewstone.net we are more than happy to help you.
Or you can submit your questions via our contact us page.
We look forward to working with you on your upcoming project.
The Black Bear Mountain Stone Team
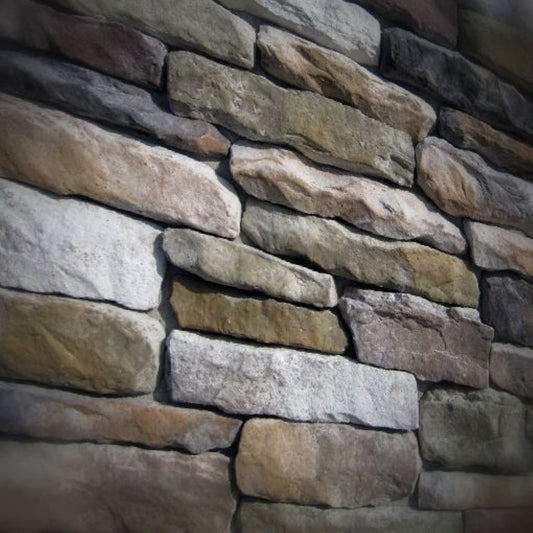
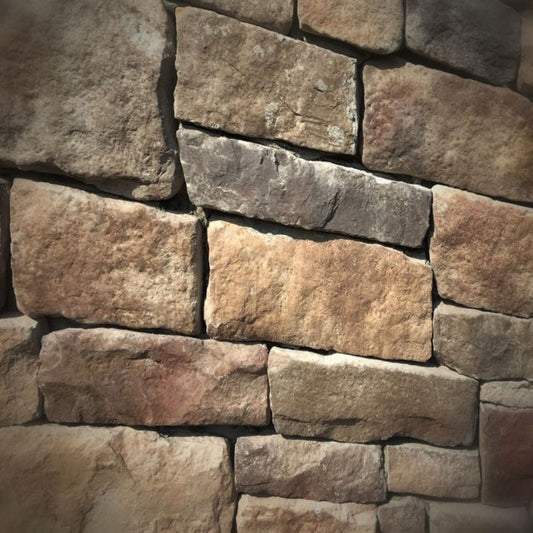
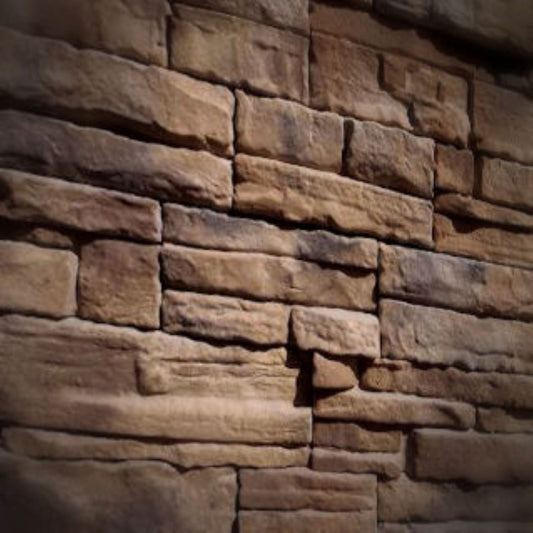
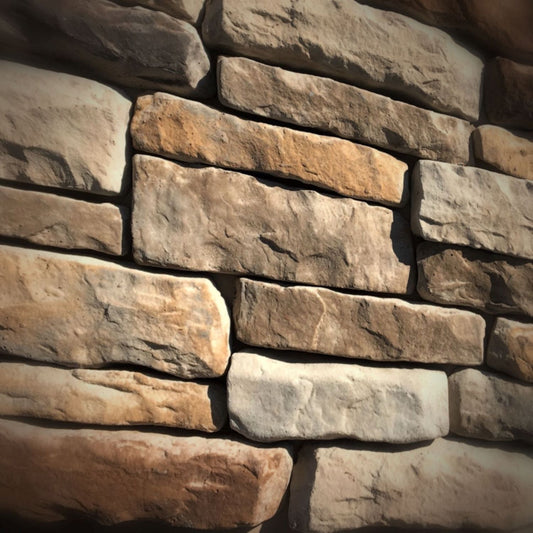
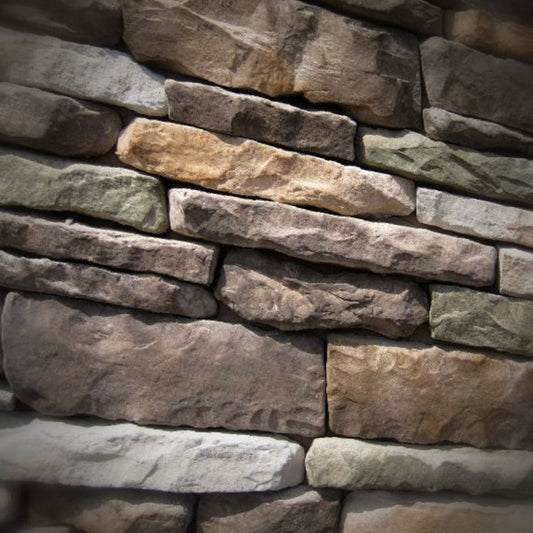
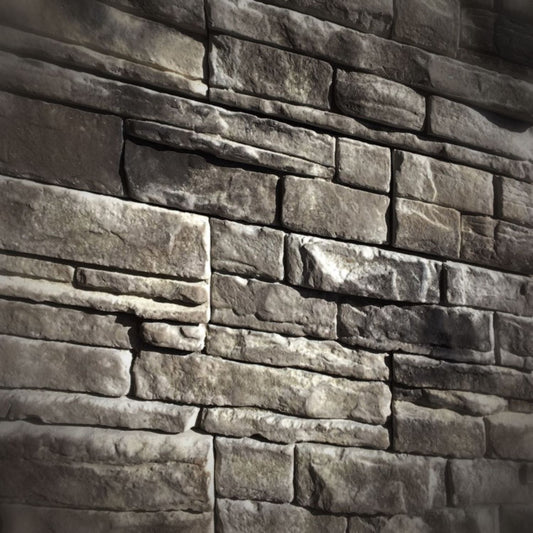
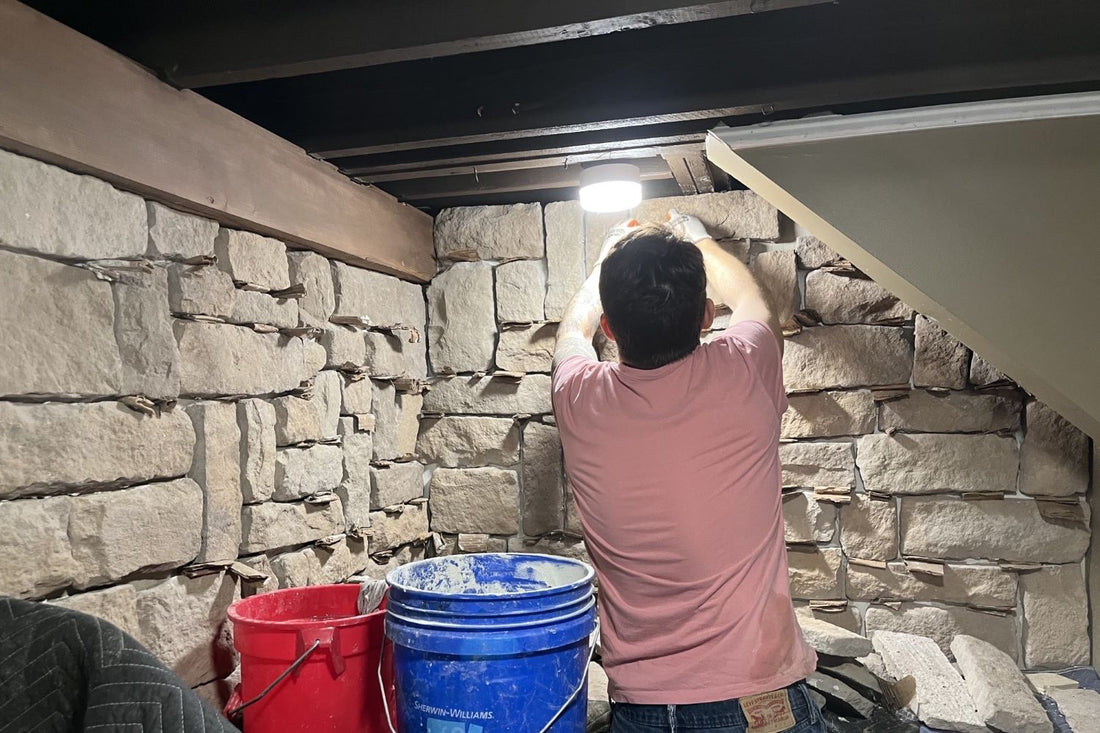
Pictured is lime stone adaline.